Product - Pricing
Resources Partnership Contact
Topics
Adding and editing meals
After choosing a menu to edit a new window with Menu editing and basic meal information will open.
Menu Editing and Basic Meal Information
Shows details of the chosen Menu board and basic meal information.

1 Menu date and Menu board location:
- Choose a day for which you want to edit the menu.
- Specify your menu’s location.
2 Set up location's alternative languages. Every menu board has a default language which does not need to be specified, but all other languages must be defined here. For example the default language can be English and alternative languages can be German and Italian.
3 This box shows you basic meal information, from here you can:
- 4 Click on the two stripes near the meal and drag it to change it's position on the menu. Click on the arrow to show more meal information and editing options or to hide them.
- 4 Mark the meal as available or unavailable for sale using the toggle.
- 4 These 3 icons allow you (in order) to: Save Meal as a Template, Duplicate (the same menu item will appear below) or Delete the meal.
6 Click on:
- Add Meal to add another dish to the menu. You will be required to fill in details in the meal creation options.
- Add from a Template to select a previously created dish.
7 Use these buttons to:
- Cancel: to remove the meal and exit the Daily menu editing window.
- Delete: to remove your menu board. Confirm deletion by clicking on Delete again.
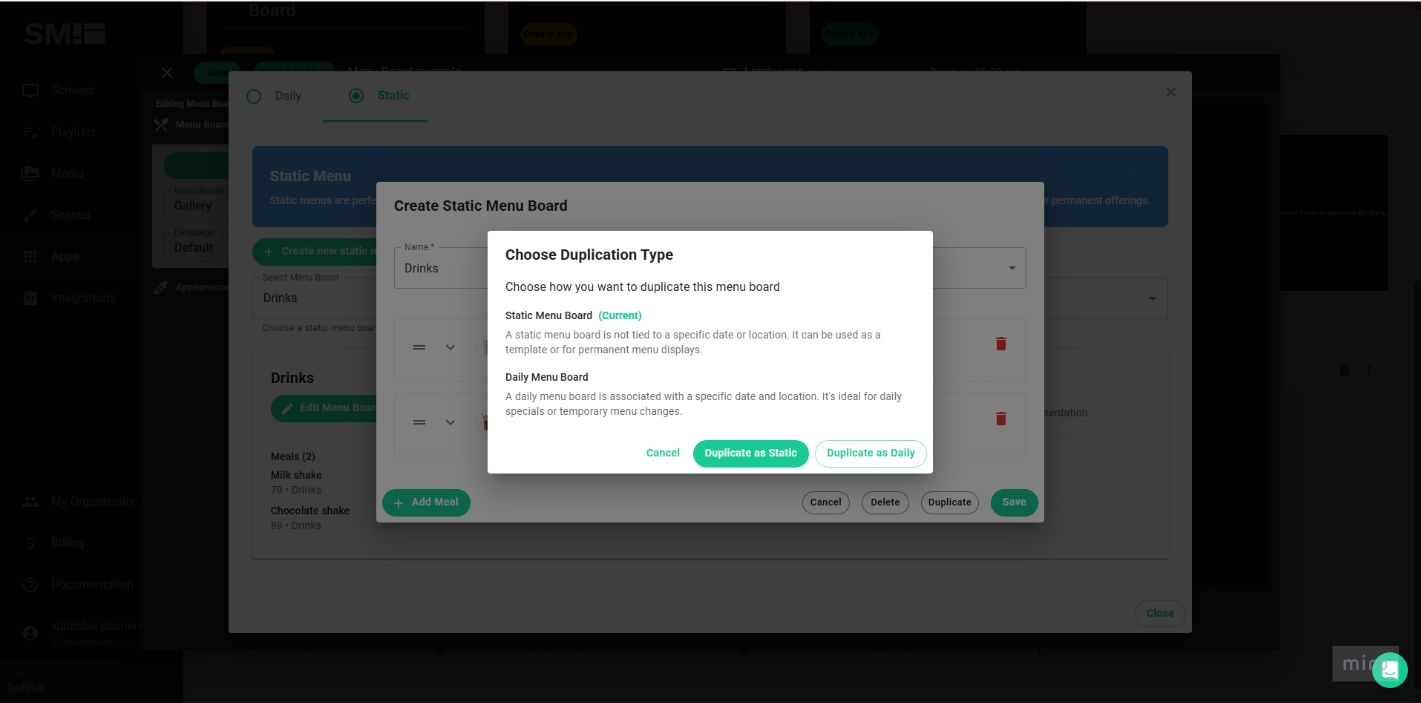
- Duplicate: to copy your menu board. You can convert it into a different menu type (from status to daily and vice versa).
- Save: to save the item to the Menu Board.
Meal Creation and Editing Options
After clicking on arrows near an existing meal or on Create Meal, meal creation/editing options for the chosen meal will appear. Fill in the details to tailor a meal according to your needs.

1 Basic information: select meal name, a category to which the item belongs to (e.g., main menu, quick meal, soup,...), add meal description and price.
Note: None of the above fields (Name, Category, Description, Price) are mandatory. You can save the offer even without filling in some or all of the fields. The system will not warn you about empty fields; simply continue onward.
2 Image management menu: Add a photo of the item by clicking the Select image button. In the new menu, choose an image from the media library by clicking on Add1 button near it or upload a new one using the Upload media2 button.

If an image is already selected, you will see a small preview. Click on Change Image to choose another image or on the Red bin icon to delete it.
3 Nutritional Information: you can enter basic nutritional values in the corresponding fields, like Energy (kcal), Proteins (g), Fats (g), Carbohydrates (g) and Cholesterol (mg) or Nutri-Score.
4 Allergens: enter meal’s allergen codes separated by commas (e.g., 1, 3, 7).
5 Allows you to create and manage pictograms. Pictograms are small icons, that you can add near pictures of your meals to signify, for example, vegetarian dishes, allergens or meat type.
Learn more about pictograms in the Custom pictogram management menu.
After you finished editing your menu board you can preview it before publishing.
Related articles
- [email protected]
- +420 604 487 886 (WhatsApp)
VAT: CZ08543682
Kurzova 2222/16 155 00
Prague, European Union